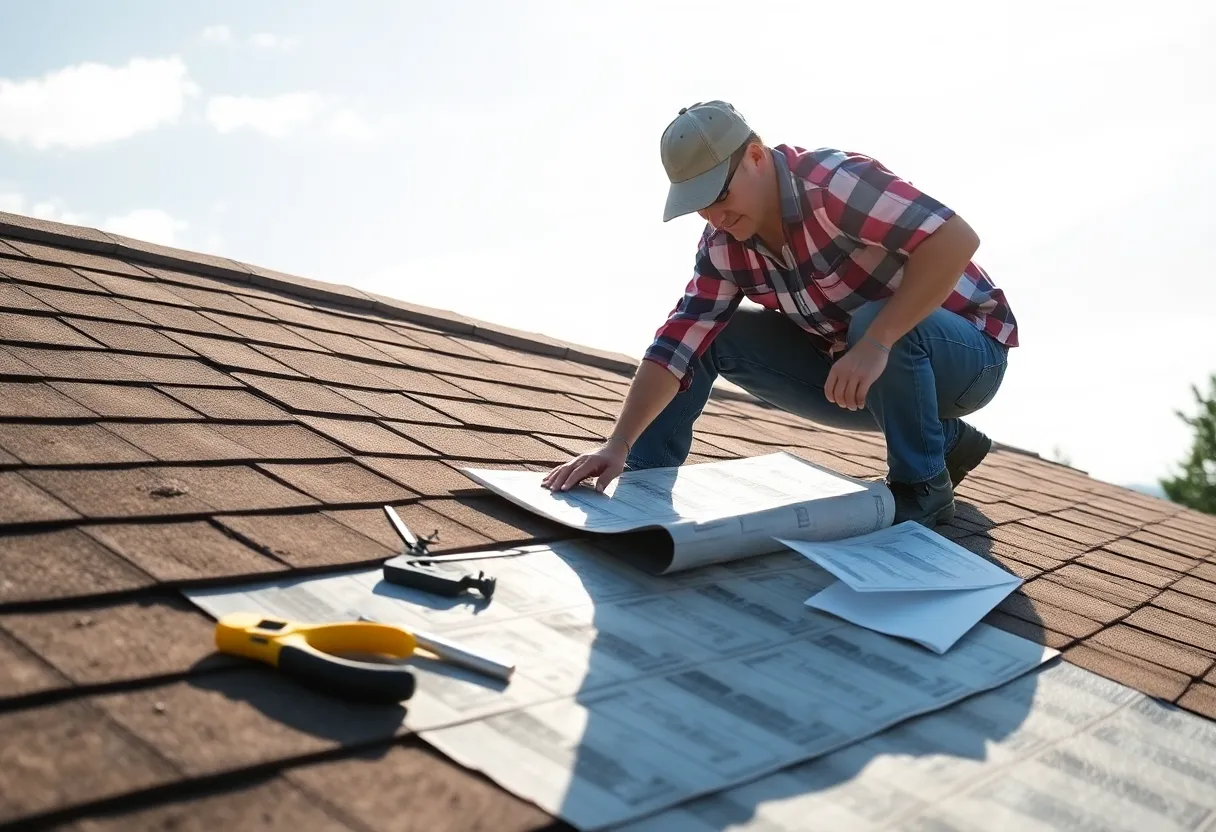
How to Successfully Install Roof Underlayment: A DIY Guide for Homeowners
Installing roof underlayment may seem daunting, but with proper planning and execution, it can be a manageable DIY project for homeowners. This guide will walk you through the essential steps and considerations needed to install roof underlayment effectively. Understanding the purpose, types, and installation process will provide you with the confidence needed for this project.
What is Roof Underlayment?
Roof underlayment is a protective barrier that is installed beneath roofing materials like shingles, tiles, or metal. It serves several vital functions:
- Moisture protection: It helps prevent water intrusion from rain, snow, or ice.
- Wind protection: It adds an extra layer of defense against high winds.
- Temperature regulation: Underlayment assists in maintaining consistent temperatures within your attic.
Types of Roof Underlayment
Choosing the right type of underlayment is crucial for optimal performance. Common types include:
Felt Underlayment
Felt, made from cellulose fibers, is one of the most traditional forms of underlayment. It is available in different weights, typically ranging from 15 to 30 pounds. While economical, felt can absorb moisture, making it crucial to install it properly.
Synthetic Underlayment
Synthetic underlayment is made from polyethylene or polypropylene. It is lighter, more durable, and resistant to tearing and UV damage. Additionally, it has superior moisture-wicking properties compared to felt.
Self-Adhering Underlayment
Self-adhering underlayment bonds directly to the roof deck, creating a watertight seal. This type is particularly effective in areas prone to ice damming and high winds.
Tools and Materials Needed
Before installation begins, gather the following tools and materials:
- Roof underlayment (selected type)
- Utility knife or roof cutter
- Stapler or roofing nails
- Measuring tape
- Safety goggles
- Climbing gear and harness
- Ladder
- Roofing membrane tape (if necessary)
Preparing for Installation
Before beginning the installation, follow these preliminary steps:
Inspect the Roof Deck
Ensure that the roof deck is clean, dry, and free of damage. Replace or repair any damaged wood to create a suitable surface for the underlayment.
Check Local Building Codes
Familiarize yourself with local building codes and regulations. Some areas have specific requirements regarding underlayment materials and installation practices.
Step-by-Step Installation Guide
1. Positioning the Underlayment
Start at the lowest point of the roof and work your way up. Ensure that the first roll of underlayment overlaps the eaves. This helps protect against water running under the edges.
2. Unrolling the Underlayment
Unroll the underlayment across the roof, taking care to maintain proper alignment along the roof edges. Leave an overhang of about 2 inches at the edges to facilitate water runoff.
3. Securing the Underlayment
Use a stapler or roofing nails to secure the underlayment. Space the staples or nails about 12 inches apart along the top edge and every 24 inches along the bottom. Be cautious not to puncture the underlayment excessively.
4. Overlapping Rows
When installing subsequent rows, ensure that they overlap the previous row by at least 4 inches. This overlap is critical in preventing water from seeping through.
5. Waterproofing Valleys
In roof valleys, apply a continuous strip of underlayment, overlapping it with the surrounding underlayment. This creates a water-shedding effect.
6. Flashing Installation
If using flashing, install it according to the manufacturer’s instructions before covering it with an underlayment. Make sure to cut the underlayment around the flashing properly.
7. Finalize the Installation
Once all the underlayment layers are installed, double-check for any loose areas. Ensure all edges are secure and provide adequate coverage for the entire roof area.
Safety Tips
Safety is paramount when working on roofs. Here are some critical safety tips:
- Always wear a safety harness while on steep roofs.
- Use a sturdy and stable ladder to access the roof.
- Work with at least one other person whenever possible.
- Check the weather forecast to avoid working in strong winds or rain.
Maintaining Your Roof Underlayment
Once installed, it is essential to keep an eye on your roof underlayment. Regular inspections can prevent significant issues from arising. Check for signs of wear, water damage, or loose areas, especially after severe weather conditions.
Conclusion
Installing roof underlayment can provide significant benefits in protecting your home against moisture and extreme weather conditions. By following the information outlined in this guide, homeowners can confidently tackle this essential roofing component. Proper selection of materials, careful preparation, and adherence to installation techniques will ensure long-lasting effectiveness. Always prioritize safety throughout the process and perform regular maintenance checks to maximize the lifespan of your roof underlayment.


 Mays Contracting


