
How Can You Safely Replace Damaged Roof Flashing on Your Own?
Roof flashing plays a critical role in protecting your home from water damage. Proper functioning flashing redirects water away from the seams and joints on your roof, preventing leaks and prolonging the lifespan of your roof. When flashing becomes damaged, it is essential to replace it promptly to maintain the integrity of your roofing system. This article will guide you through the steps of safely replacing damaged roof flashing on your own.
Understanding Roof Flashing
Before diving into the replacement process, it’s crucial to understand what roof flashing is. Roof flashing is typically made of metal, though you may also encounter plastic or rubber varieties, and is installed around areas such as chimneys, vents, and skylights. It serves as a barrier against moisture, effectively preventing water from penetrating your roof structure.
Signs of Damaged Roof Flashing
Identifying damaged flashing is the first step towards replacement. Here are some common signs to look for:
- Visible rust or corrosion: Metal flashing that shows signs of rust indicates deterioration.
- Bent or cracked sections: Structural damage can cause flashing to bend or break, compromising its function.
- Leaks or water stains: Water penetration inside your home can be traced back to faulty flashing.
- Inverted or improperly installed flashing: If the flashing is not installed correctly, it may not redirect water properly.
Tools and Materials Needed
Before embarking on the replacement project, ensure you have the necessary tools and materials:
- Tools:
- Utility knife
- Hammer
- Pry bar
- Caulking gun
- Measuring tape
- Safety ladder
- Materials:
- New flashing material (metal or rubber)
- Roofing nails or screws
- Roofing sealant
- Adhesive tape (if necessary)
Steps for Replacing Roof Flashing
Step 1: Prepare the Work Area
Before climbing up to the roof, take the time to secure your work area. Ensure your ladder is stable and positioned on a flat surface. Remove any debris or obstacles from the area of repair to ensure safety as you work.
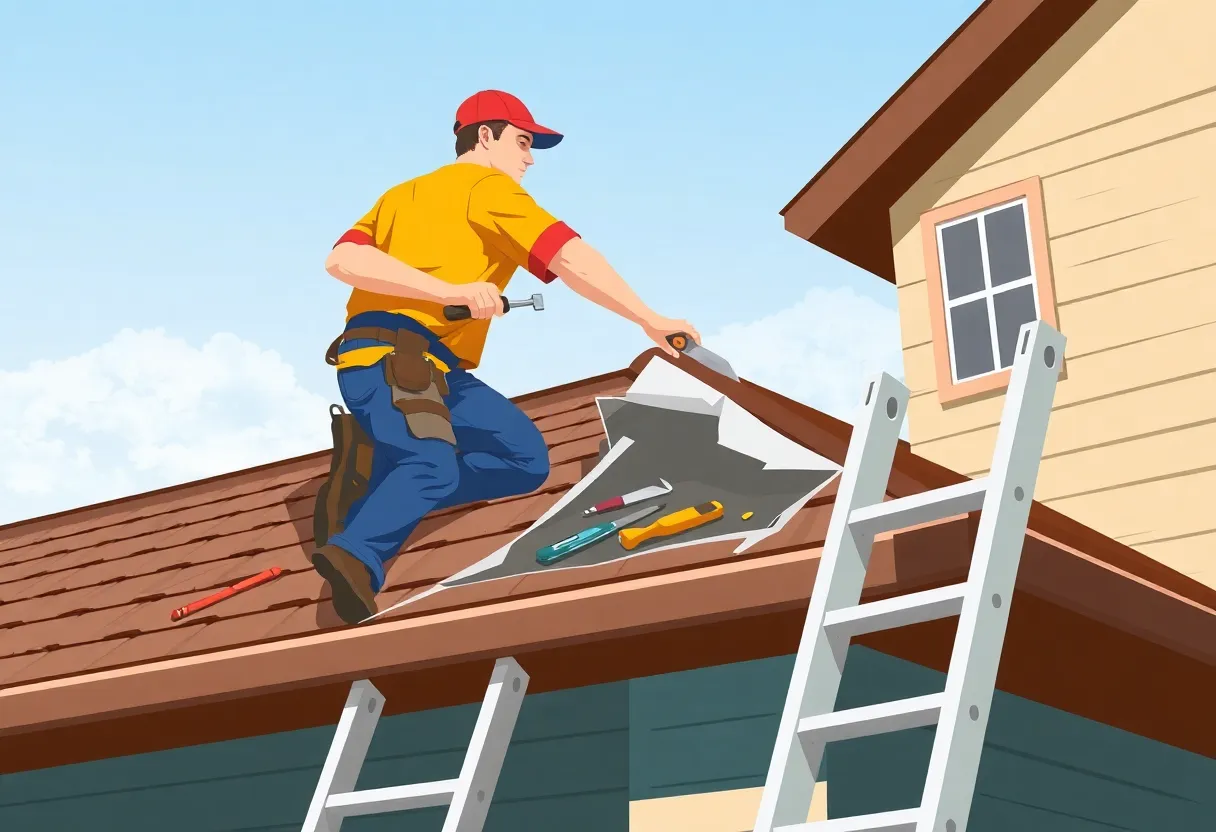
Step 2: Remove the Damaged Flashing
Use a pry bar or utility knife to carefully remove the damaged section of flashing. If the screws or nails are rusted, you may need to replace them, but most can be extracted easily. Be cautious not to damage the surrounding roofing materials during the removal process.
Step 3: Measure and Cut New Flashing
Using your measuring tape, determine the exact dimensions needed for the new flashing. Cut the new flashing material accordingly, allowing for overlap as necessary to ensure comprehensive coverage. Metal flashing can be easily cut with a utility knife or tin snips, while rubber flashing may require a more precise cutting tool.
Step 4: Install the New Flashing
Position the new flashing in place, ensuring it overlaps any adjacent roofing material to prevent water infiltration. Secure the flashing with roofing nails or screws, placing them at appropriate intervals to ensure stability. If using metal, ensure the nails are corrosion-resistant to extend the life of your replacement.
Step 5: Seal the Edges
After installing the new flashing, apply roofing sealant along the edges and seams. Make sure to use a high-quality sealant that is compatible with the materials of your flashing. This step is crucial for preventing water from seeping under the flashing.
Step 6: Inspect Your Work
Once installed, take a moment to conduct a thorough inspection of your work. Check for gaps or misalignments, and ensure the flashing is firmly secured. Address any issues before considering the job complete.
Safety Precautions
Working on the roof involves inherent risks; thus, safety should always be a priority. Here are some crucial safety tips to prevent accidents:
- Always use a sturdy ladder and ensure it is on level ground.
- Consider wearing a safety harness, especially on sloped roofs.
- Work during favorable weather conditions, avoiding windy or rainy days.
- Have a partner assist you when possible to provide support and help monitor safety.
Conclusion
Replacing damaged roof flashing can be a straightforward task when approached with care, precision, and the right tools. By understanding the process and following a step-by-step guide, you can effectively protect your home from moisture damage. However, if at any point you feel uncomfortable with the task, do not hesitate to consult a professional. The goal is to ensure your roof remains a reliable shield against the elements.
Final Thoughts
DIY roof flashing replacement not only saves money but also enhances your skills and confidence in home repairs. By addressing this issue proactively, you contribute to extending the life of your roof and maintaining a safe living environment. Remember that proper flashing installation is vital in preventing leaks and water intrusion, making vigilance in maintenance key. Approach this task with the respect it deserves, and your home will thank you.