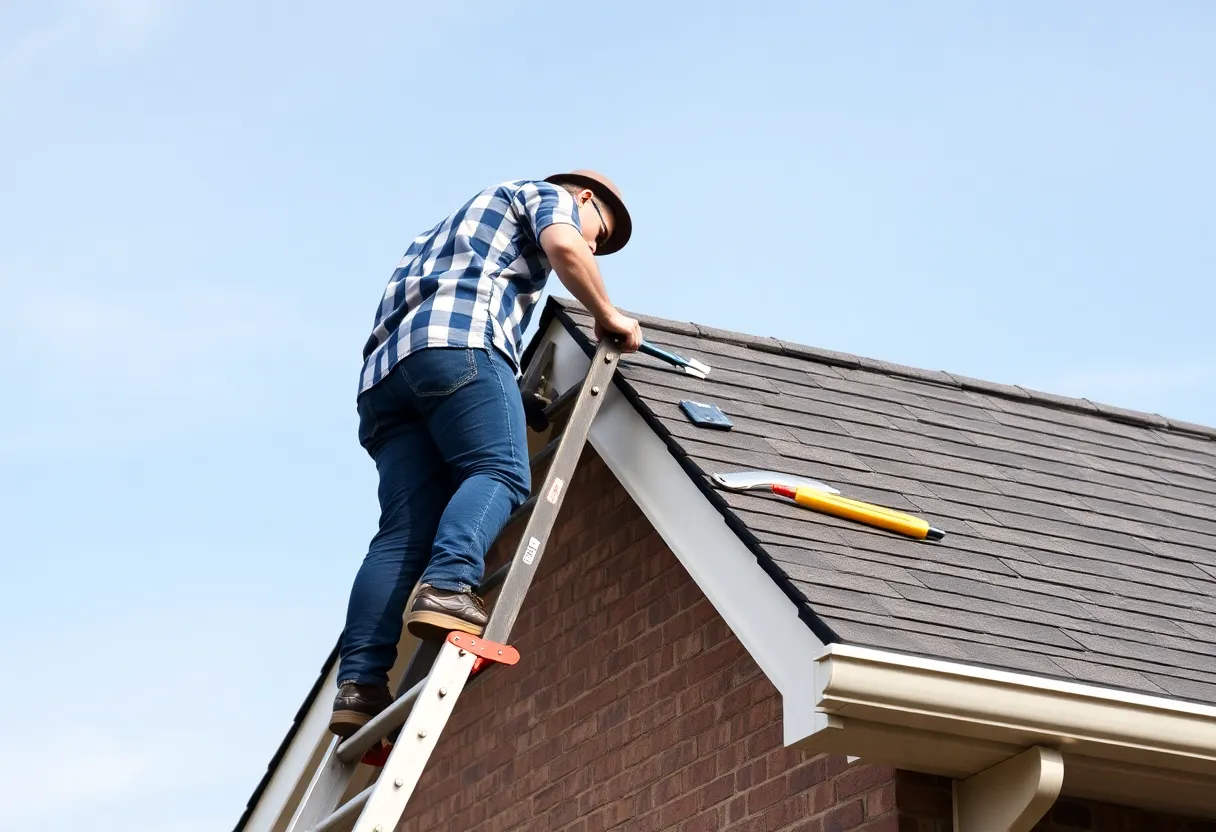

A step-by-step process of DIY shingle replacement for homeowners.
Article Sponsored by:
Mays Contracting is more than just a roofing company; it’s a family legacy built on trust and quality. Founded in 1979, we’ve been serving the community for over four decades. Our story began with a simple vision: to provide exceptional roofing services for both residential and commercial properties. This vision has guided us ever since, as we’ve grown from a small, family-run operation to a trusted name in the industry.
Replacing roof shingles can seem daunting, but with the right approach and tools, it can be a fulfilling DIY project for homeowners. This guide provides a comprehensive overview of how you can successfully replace your roof shingles on your own, ensuring that your home remains both beautiful and protected.
Before embarking on a DIY shingle replacement project, it’s essential to determine whether your shingles need replacement. Look for these key signs:
Successful shingle replacement requires the right tools and materials. Here’s what you will need:
Proper preparation is vital before replacing your shingles. Follow these steps:
Before you start removing shingles, inspect your roof and assess the condition of the decking underneath. Look for rot or damage that may also need attention.
Timing is critical. Avoid working on your roof during rainy or windy weather, as it could pose safety risks and affect shingle installation.
Ensure you wear appropriate safety gear and anchor your ladder securely. Working with heights requires caution.
The first actual step in the replacement process is removing the old shingles. Use the following procedure:
Begin at the ridge of your roof and work your way down, which allows you to prevent further damage. Use your roofing nail gun to lift the shingles, carefully removing them.
After taking off the shingles, remove any exposed nails using a hammer or shingle remover. Ensure the decking is clean and nails are entirely taken out before proceeding.
Once the old shingles are removed, it’s time to install the new ones. Follow these steps carefully:
Before placing new shingles, roll out roofing felt or underlayment across the roof surface. This layer adds protection against water and acts as a moisture barrier. Overlap sections by at least 6 inches.
Install starter shingles along the eaves. The starter course typically involves cutting down shingles and applying them upside down. Apply roofing adhesive to ensure they stay in place.
Begin placing the new shingles, starting from the eaves and working upwards. Ensure each shingle is aligned properly and overlaps the previous layer correctly. Use the roofing nail gun to secure each shingle with the recommended four to six nails.
Apply metal flashing around chimneys, vents, and other protrusions to provide extra protection against leaks. Secure flashing with roofing sealant, and clamp it with nails if necessary.
After installing the shingles, there are a few final steps to ensure a complete job:
Install ridge caps along the roof’s top edge. These caps prevent leaks at the ridge and provide a finished look. Cut standard shingles to size, and secure them with nails.
Remove any debris or leftover materials from the roof. It is essential to keep the gutter systems clear of shingle granules or pieces to avoid clogging and potential water damage.
Double-check the installed shingles for proper alignment, secure adhesion, and correct placement. Take note of any potential issues that may need addressing.
Once you’ve replaced your roof shingles, proper maintenance will prolong the lifespan of your roof. Here are some maintenance tips:
Inspect your roof at least twice a year for any signs of damage or wear. Pay specific attention to flashings and areas surrounding vents and chimneys.
Maintain clean gutters to ensure proper water flow, reducing the risk of leaks and damage.
Regularly remove leaves, branches, and other debris from the roof surface to prevent moss and algae growth.
Replacing your roof shingles doesn’t have to be a daunting task. With preparation, the right tools, and adherence to safety practices, you can transform your roof effectively. Not only will you enhance the appearance of your home, but you will also protect it from weather elements. With careful maintenance, your new roof can serve you well for years to come.

Quality Roof Construction and Repair in Lexington, Richland, Newberry and Laurens Counties for over 40 Years.
News Summary Columbia, South Carolina, experienced severe weather conditions this Sunday morning as tornado and…
News Summary In a historic execution, Brad Sigmon, 67, was put to death by firing…
News Summary Komar Industries has announced the relocation of its subsidiary, Bace, from Charlotte, NC…
News Summary Wildfires are rapidly spreading across North and South Carolina, prompting urgent state of…
News Summary As spring arrives in Columbia, SC, residents are facing high pollen counts, resulting…
News Summary The South Carolina Small Business Chamber of Commerce has called on President Trump…