
Homeowner successfully installing roof underlayment as part of a DIY roofing project.
Article Sponsored by:
Mays Contracting is more than just a roofing company; it’s a family legacy built on trust and quality. Founded in 1979, we’ve been serving the community for over four decades. Our story began with a simple vision: to provide exceptional roofing services for both residential and commercial properties. This vision has guided us ever since, as we’ve grown from a small, family-run operation to a trusted name in the industry.

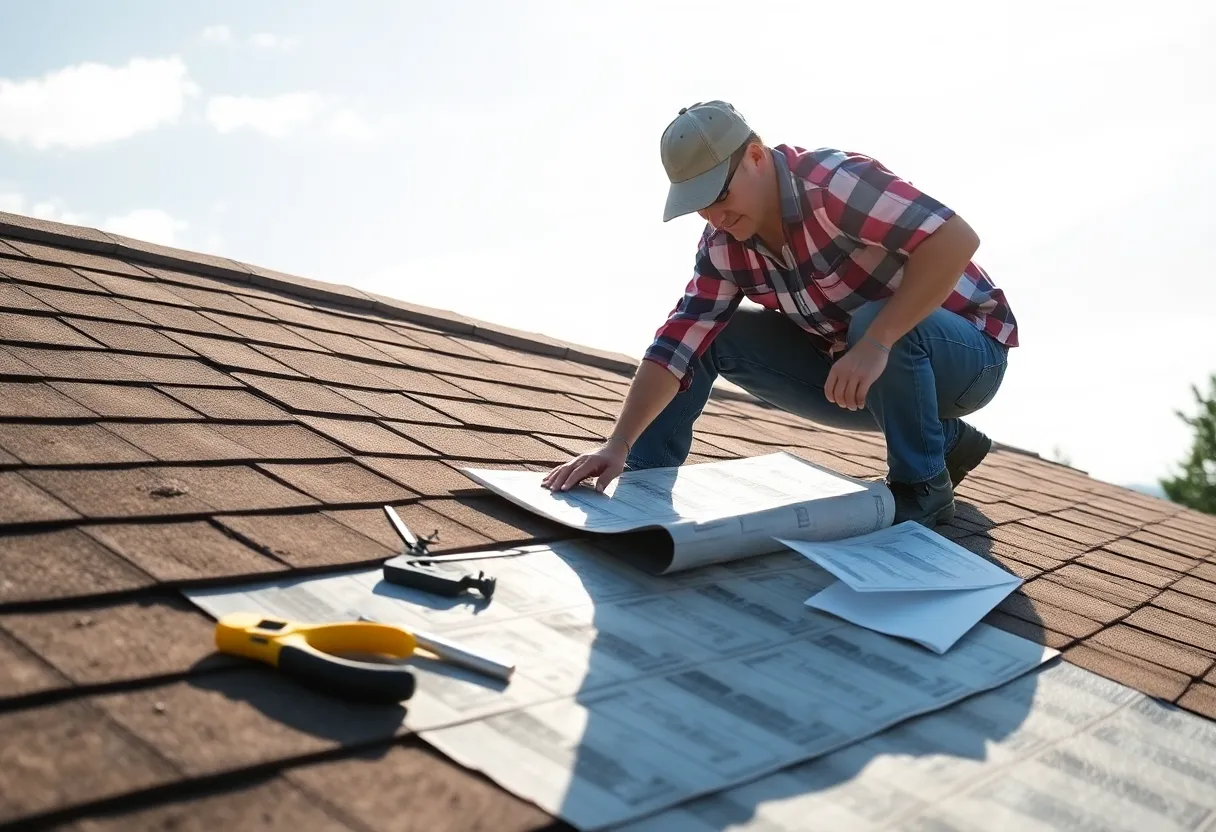
Installing roof underlayment may seem daunting, but with proper planning and execution, it can be a manageable DIY project for homeowners. This guide will walk you through the essential steps and considerations needed to install roof underlayment effectively. Understanding the purpose, types, and installation process will provide you with the confidence needed for this project.
Roof underlayment is a protective barrier that is installed beneath roofing materials like shingles, tiles, or metal. It serves several vital functions:
Choosing the right type of underlayment is crucial for optimal performance. Common types include:
Felt, made from cellulose fibers, is one of the most traditional forms of underlayment. It is available in different weights, typically ranging from 15 to 30 pounds. While economical, felt can absorb moisture, making it crucial to install it properly.
Synthetic underlayment is made from polyethylene or polypropylene. It is lighter, more durable, and resistant to tearing and UV damage. Additionally, it has superior moisture-wicking properties compared to felt.
Self-adhering underlayment bonds directly to the roof deck, creating a watertight seal. This type is particularly effective in areas prone to ice damming and high winds.
Before installation begins, gather the following tools and materials:
Before beginning the installation, follow these preliminary steps:
Ensure that the roof deck is clean, dry, and free of damage. Replace or repair any damaged wood to create a suitable surface for the underlayment.
Familiarize yourself with local building codes and regulations. Some areas have specific requirements regarding underlayment materials and installation practices.
Start at the lowest point of the roof and work your way up. Ensure that the first roll of underlayment overlaps the eaves. This helps protect against water running under the edges.
Unroll the underlayment across the roof, taking care to maintain proper alignment along the roof edges. Leave an overhang of about 2 inches at the edges to facilitate water runoff.
Use a stapler or roofing nails to secure the underlayment. Space the staples or nails about 12 inches apart along the top edge and every 24 inches along the bottom. Be cautious not to puncture the underlayment excessively.
When installing subsequent rows, ensure that they overlap the previous row by at least 4 inches. This overlap is critical in preventing water from seeping through.
In roof valleys, apply a continuous strip of underlayment, overlapping it with the surrounding underlayment. This creates a water-shedding effect.
If using flashing, install it according to the manufacturer’s instructions before covering it with an underlayment. Make sure to cut the underlayment around the flashing properly.
Once all the underlayment layers are installed, double-check for any loose areas. Ensure all edges are secure and provide adequate coverage for the entire roof area.
Safety is paramount when working on roofs. Here are some critical safety tips:
Once installed, it is essential to keep an eye on your roof underlayment. Regular inspections can prevent significant issues from arising. Check for signs of wear, water damage, or loose areas, especially after severe weather conditions.
Installing roof underlayment can provide significant benefits in protecting your home against moisture and extreme weather conditions. By following the information outlined in this guide, homeowners can confidently tackle this essential roofing component. Proper selection of materials, careful preparation, and adherence to installation techniques will ensure long-lasting effectiveness. Always prioritize safety throughout the process and perform regular maintenance checks to maximize the lifespan of your roof underlayment.
Quality Roof Construction and Repair in Lexington, Richland, Newberry and Laurens Counties for over 40 Years.
News Summary In a significant move for the Greenville financial landscape, Apollon Financial has acquired…
News Summary In Summerville, SC, Tiffany Johnson-Wilson, CEO of Johnson & Wilson Real Estate Company,…
News Summary York County is set to welcome Komar Industries, based in Ohio, as they…
News Summary South Carolina's tourism industry has experienced a remarkable 65% growth over the past…
News Summary Lexington is abuzz as Michelin proposes a $159 million expansion at its Two…
News Summary The Columbia City Council is exploring significant changes to building height restrictions in…


