
A step-by-step guide on safely replacing roof flashing.
Article Sponsored by:
Mays Contracting is more than just a roofing company; it’s a family legacy built on trust and quality. Founded in 1979, we’ve been serving the community for over four decades. Our story began with a simple vision: to provide exceptional roofing services for both residential and commercial properties. This vision has guided us ever since, as we’ve grown from a small, family-run operation to a trusted name in the industry.

Roof flashing plays a critical role in protecting your home from water damage. Proper functioning flashing redirects water away from the seams and joints on your roof, preventing leaks and prolonging the lifespan of your roof. When flashing becomes damaged, it is essential to replace it promptly to maintain the integrity of your roofing system. This article will guide you through the steps of safely replacing damaged roof flashing on your own.
Before diving into the replacement process, it’s crucial to understand what roof flashing is. Roof flashing is typically made of metal, though you may also encounter plastic or rubber varieties, and is installed around areas such as chimneys, vents, and skylights. It serves as a barrier against moisture, effectively preventing water from penetrating your roof structure.
Identifying damaged flashing is the first step towards replacement. Here are some common signs to look for:
Before embarking on the replacement project, ensure you have the necessary tools and materials:
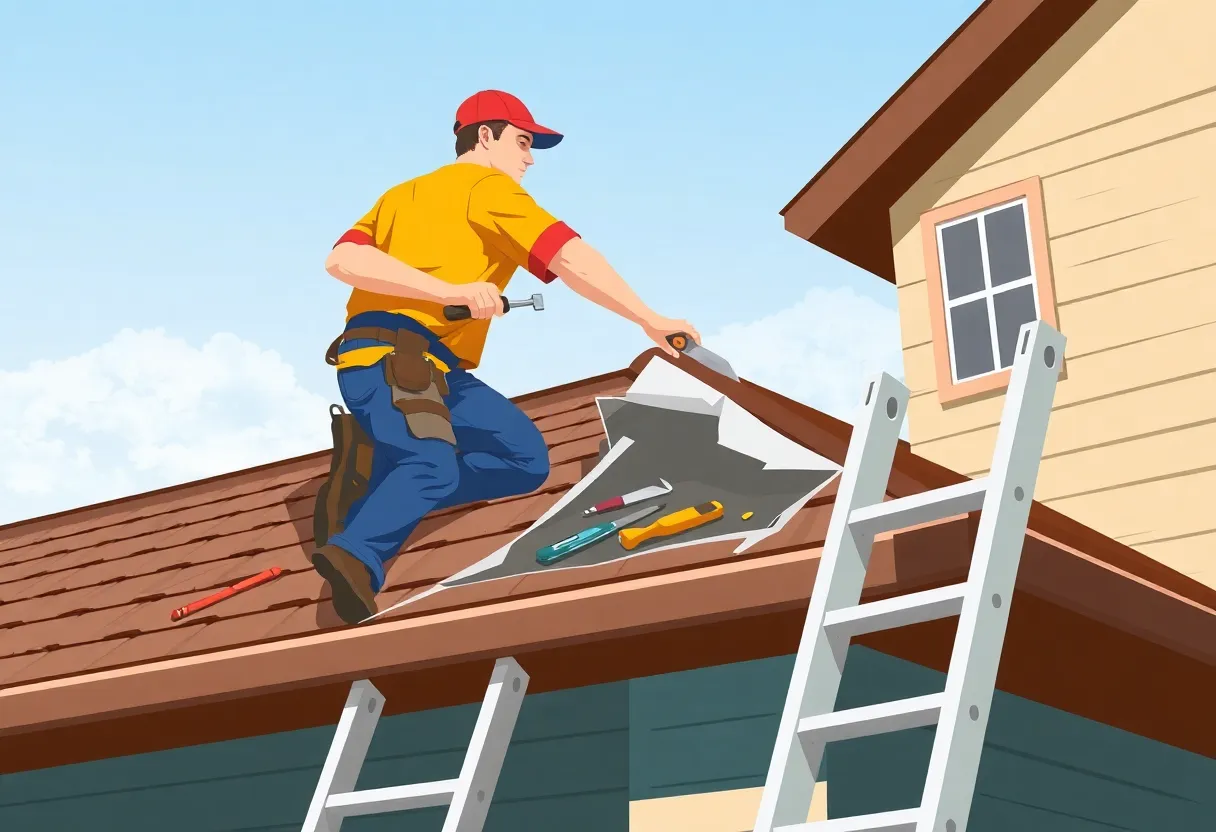
Before climbing up to the roof, take the time to secure your work area. Ensure your ladder is stable and positioned on a flat surface. Remove any debris or obstacles from the area of repair to ensure safety as you work.
Use a pry bar or utility knife to carefully remove the damaged section of flashing. If the screws or nails are rusted, you may need to replace them, but most can be extracted easily. Be cautious not to damage the surrounding roofing materials during the removal process.
Using your measuring tape, determine the exact dimensions needed for the new flashing. Cut the new flashing material accordingly, allowing for overlap as necessary to ensure comprehensive coverage. Metal flashing can be easily cut with a utility knife or tin snips, while rubber flashing may require a more precise cutting tool.
Position the new flashing in place, ensuring it overlaps any adjacent roofing material to prevent water infiltration. Secure the flashing with roofing nails or screws, placing them at appropriate intervals to ensure stability. If using metal, ensure the nails are corrosion-resistant to extend the life of your replacement.
After installing the new flashing, apply roofing sealant along the edges and seams. Make sure to use a high-quality sealant that is compatible with the materials of your flashing. This step is crucial for preventing water from seeping under the flashing.
Once installed, take a moment to conduct a thorough inspection of your work. Check for gaps or misalignments, and ensure the flashing is firmly secured. Address any issues before considering the job complete.
Working on the roof involves inherent risks; thus, safety should always be a priority. Here are some crucial safety tips to prevent accidents:
Replacing damaged roof flashing can be a straightforward task when approached with care, precision, and the right tools. By understanding the process and following a step-by-step guide, you can effectively protect your home from moisture damage. However, if at any point you feel uncomfortable with the task, do not hesitate to consult a professional. The goal is to ensure your roof remains a reliable shield against the elements.
DIY roof flashing replacement not only saves money but also enhances your skills and confidence in home repairs. By addressing this issue proactively, you contribute to extending the life of your roof and maintaining a safe living environment. Remember that proper flashing installation is vital in preventing leaks and water intrusion, making vigilance in maintenance key. Approach this task with the respect it deserves, and your home will thank you.
Quality Roof Construction and Repair in Lexington, Richland, Newberry and Laurens Counties for over 40 Years.
News Summary The University of South Carolina mourns the loss of Nathanial 'Nate' G. Baker,…
News Summary As wildfires continue to burn across North and South Carolina, officials have declared…
News Summary Dr. Edward Simmer's nomination to lead the South Carolina Department of Public Health…
News Summary In a notable legislative move, South Carolina lawmakers have introduced bills aimed at…
News Summary Raleigh, North Carolina has been recognized as the best-performing large city in the…
News Summary Sustain SC warns that South Carolina could face an economic loss of up…


