How to Effectively Repair Roof Leaks: A Homeowner’s Guide
Roof leaks are more than just annoying; they can lead to significant damage if left unaddressed. The importance of repairing a leaking roof cannot be overstated. This guide provides you with the vital steps needed to effectively tackle roof leaks, arming you with the knowledge necessary to protect your home.
Recognizing Roof Leaks
Before initiating repairs, it’s crucial to identify the source of the leak. Water stains on ceilings or walls often indicate a problem, but the actual leak may be located far from these visible marks. Common sources of roof leaks include:
- Missing or damaged shingles
- Faulty flashing around chimneys and vents
- Clogged gutters
- Ice dams in colder climates
- Cracks in the roof membrane
Common Signs of Roof Leaks
Keep an eye out for these telltale signs:
- Dark spots or stains on ceilings
- Peeling paint or wallpaper
- Mold or mildew growth
- Increased indoor humidity
- Dripping water during rain
Safety Precautions
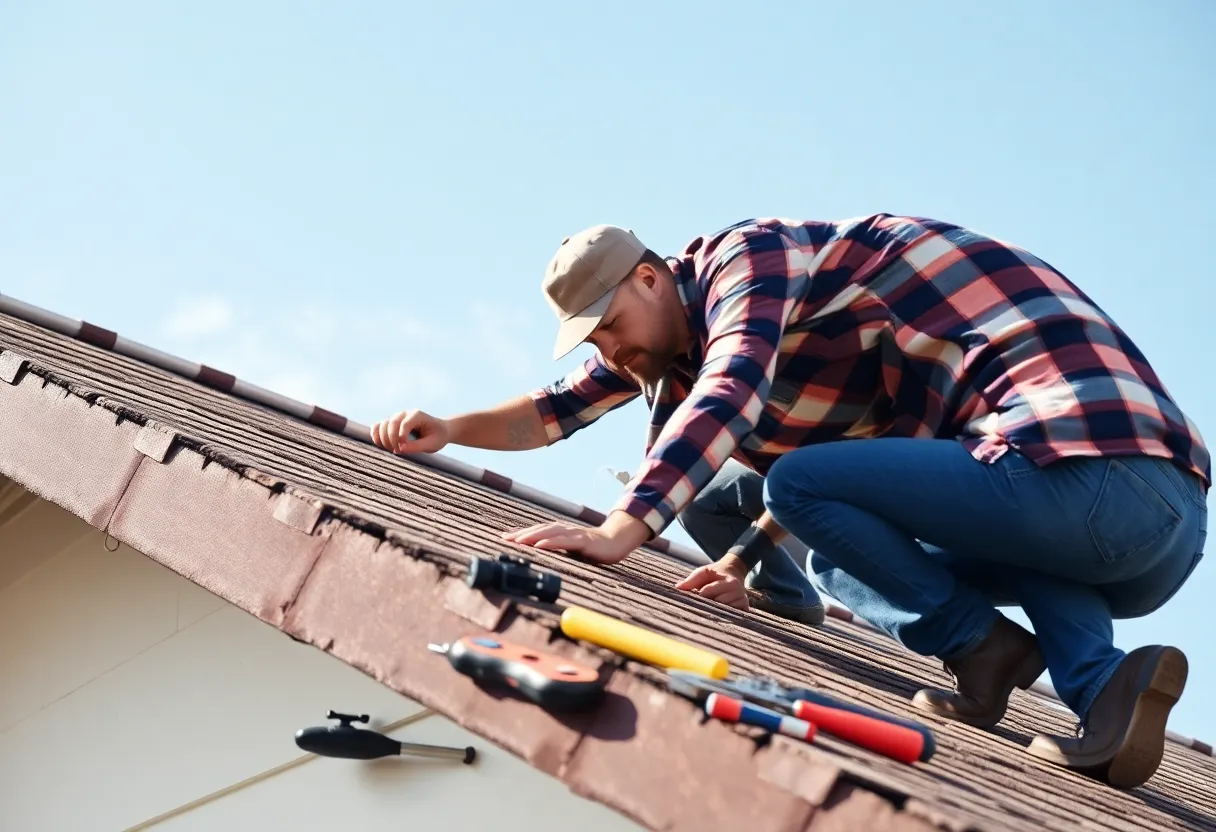
Repairing roof leaks can be dangerous. Always observe these safety precautions:
- Use a sturdy ladder and ensure it is on stable ground.
- Wear non-slip shoes to enhance grip.
- Utilize a harness for added security, especially on steep roofs.
- Work only in dry weather to avoid slips and falls.
Tools and Materials Needed
Having the right tools and materials on hand simplifies the repair process. You will typically need:
- Safety gear (gloves, goggles)
- Roofing ladder
- Utility knife
- Caulking gun and roofing sealant
- Replacement shingles (if applicable)
- Roofing nails
- Tar or waterproof adhesive
Step-by-Step Repair Process
1. Locate the Leak
Start by inspecting the roof from the ground. Look for missing shingles or damaged flashing. If safe, ascend to the roof for a closer inspection. Check areas around vents, skylights, and chimneys, as these are common leak sources.
2. Prepare for Repair
Once you pinpoint the leak:
- Clean the area around the leak to remove debris and dirt.
- Take photographs of the damaged areas for reference.
3. Making Minor Repairs
For small leaks, here are quick fixes:
- Apply roofing sealant: Use a caulking gun to apply sealant around flashing and joints to close small gaps.
- Replace missing shingles: Remove damaged shingles and slide new ones into place, securing them with roofing nails.
4. Repairing Larger Issues
If the damage is extensive, follow these steps:
- Remove the damaged section: Carefully cut away the affected roofing material.
- Inspect the underlayment: Check for damage to the underlayment beneath shingles and replace as needed.
- Install new shingles: Lay new shingles into the repaired area, overlapping them properly.
5. Addressing Flashing Issues
Flashing repairs require extra care:
- Remove the old flashing and replace it with new, ensuring it is well-sealed at joints.
- Use roofing cement to secure the flashing in place.
6. Cleaning Gutters
Clogged gutters can lead to water pooling on the roof, causing leaks. Regularly clean your gutters to ensure proper drainage and reduce the risk of roof leaks.
Post-Repair Inspection
After completing your repairs, carry out a thorough inspection:
- Check for any visible gaps or openings.
- Examine the surrounding shingles to ensure they are secure.
- Look for signs of water when it rains to confirm the repair was effective.
Preventive Measures
To prevent future leaks, incorporate these maintenance tips:
- Schedule regular roof inspections, especially after severe weather.
- Keep gutters clean and free from debris.
- Trim overhanging branches that could scrape the roof or drop debris.
- Ensure proper insulation and ventilation in your attic to reduce moisture buildup.
When to Call a Professional
Some scenarios warrant professional assistance:
- If the damage is significant or the roof is steep.
- When multiple leaks are located in different areas.
- If you’re unsure about the safety or methodology of the repairs.
Why Choose a Professional?
Professionals have access to specialized tools and experience, ensuring repairs are performed correctly. They can also provide valuable insights on extending the life of your roof.
Conclusion
Repairing roof leaks requires diligence and attention to safety. By identifying symptoms early, utilizing proper techniques, and performing regular maintenance, homeowners can effectively protect their homes from the damaging effects of roof leaks. **Remember—taking timely action can save you from costly repairs in the future.**


 Mays Contracting


